

Wall art placement is defined as the intentional positioning of artwork on walls using standardized height, scale, and spacing principles to create visual harmony in a living space. Most homeowners hang art too high, too small, or without a plan. The result is a room that feels unfinished, even when the art itself is beautiful. Getting placement right changes everything. It anchors furniture, creates focal points, and turns a blank wall into a statement. The museum standard of centering artwork at 57–60 inches from the floor exists for a reason: it puts art directly at average eye level, which is where the human eye naturally rests.
What are the key rules for wall art height, scale, and spacing?
Wall art placement begins with three non-negotiable principles: height, scale, and spacing. Ignore one, and the whole wall feels off.
Height: the 57–60 inch rule
The center of any artwork should sit 57–60 inches from the floor. This is the standard used by professional galleries and museums worldwide. It places the visual center of the piece at average adult eye level, which means viewers engage with the art naturally without craning their necks up or looking down.
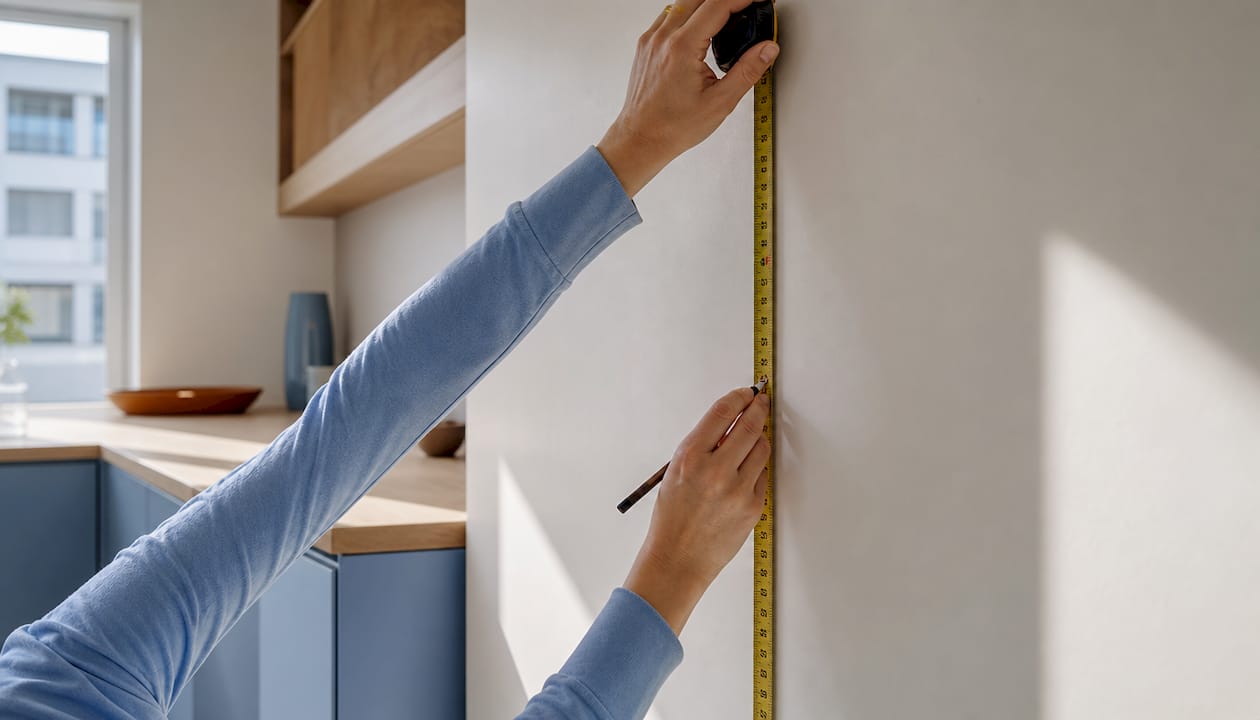
Most homeowners hang art too high. The instinct is to fill vertical space, but art hung near the ceiling disconnects from the room. It floats. The 57–60 inch rule keeps art grounded and connected to the people and furniture below it.
Scale: matching art to furniture width
Artwork should span 2/3 to 3/4 of the width of the furniture beneath it. A 72-inch sofa calls for art that is roughly 48–54 inches wide, whether that is a single large canvas or a grouping of smaller pieces. Art that is too narrow looks timid above a large sofa. Art that is wider than the furniture creates visual imbalance.
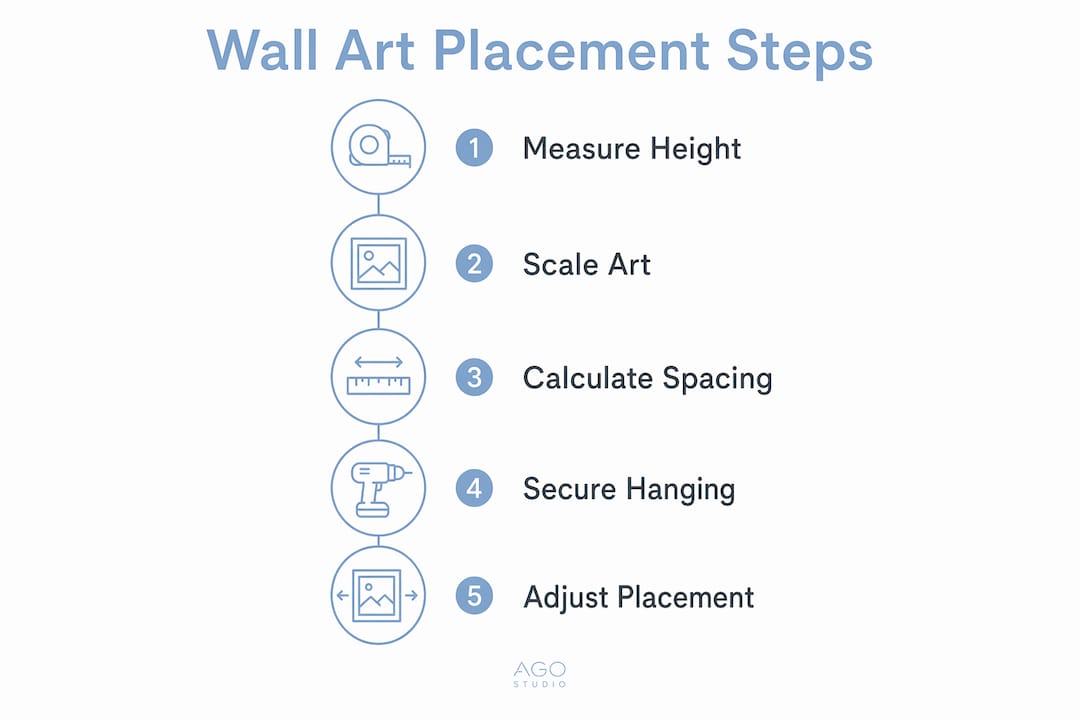
Scale mistakes are the most common error in home decor. A small 12-by-16-inch print above a king-sized bed is the classic example. The art disappears. When in doubt, go larger.
Spacing: the gap between furniture and art
Leave 6 to 12 inches between the top of your furniture and the bottom edge of the artwork. This gap creates a visual connection between the two without making the art look like it is sitting on top of the sofa or console. Less than 6 inches feels cramped. More than 12 inches breaks the relationship between the art and the furniture entirely.
- Center artwork at 57–60 inches from the floor to match eye level.
- Choose art that spans 2/3 to 3/4 the width of the furniture below.
- Keep a 6-to-12-inch gap between furniture tops and the art’s bottom edge.
- Avoid art that is too small for the wall or furniture scale.
- Treat a grouping of smaller pieces as one unit when calculating width and height.
Pro Tip: Measure the distance from the hanging hardware (the wire or hook on the back of the frame) to the top of the frame before marking your wall. This offset is what most people forget, and it is why art ends up hanging 2–3 inches higher than intended.
How to position wall art above different furniture types
The core rules adapt depending on what sits below the art and what the room demands.
Above a sofa or console
A sofa is the most common anchor for wall art. The 6-to-12-inch gap applies here, but lean toward the lower end of that range (4–8 inches) for consoles and entryway tables, where the furniture is narrower and the wall above it is often taller. This tighter gap keeps the art from floating in empty space.
For large wall art arrangement above a sofa, a single oversized canvas works well when the room has a clean, minimal aesthetic. A horizontal triptych works equally well and gives you more flexibility with sizing.
Above a bed
The bed is the largest piece of furniture in most rooms, which means the art above it needs to be substantial. Center the artwork above the headboard, not the entire bed frame. Leave 4–8 inches between the top of the headboard and the bottom of the art. In rooms with standard 8-foot ceilings, this naturally places the art’s center close to the 57–60 inch mark.
In dining rooms and seating areas
Dining rooms call for slightly lower hanging heights because viewers are seated. Drop the center point to around 54–56 inches from the floor. This keeps the art in sightline when guests are sitting at the table rather than standing in the room.
- Above sofas: 6–12 inches from furniture top to art bottom.
- Above consoles and entryway tables: 4–8 inches for a tighter visual connection.
- Above beds: center over the headboard, not the full bed width.
- In dining rooms: lower the center point to 54–56 inches for seated sightlines.
- On blank walls: use the 57–60 inch center rule and choose art sized to fill at least one-third of the wall’s width.
How do you create a gallery wall that looks curated?
A gallery wall is a collection of multiple frames arranged together to function as a single visual unit. Done well, it is the most personal and expressive form of wall art display. Done poorly, it looks like a random scattering of frames.
Plan on the floor first
Lay out frames on the floor before touching the wall. Arrange them until the grouping feels balanced, then trace each frame onto craft paper or use painter’s tape on the wall to map the layout. This step prevents unnecessary holes and lets you experiment freely.
Alternatively, cut paper templates for each frame and tape them to the wall. Step back, live with the arrangement for a day, and adjust before committing. This is the single most effective preparation step for gallery walls.
Start with an anchor piece
Place the largest or most visually dominant piece slightly off-center or at eye level first. This anchor piece sets the tone for everything around it. Build outward from the anchor, balancing heavier frames on one side with a cluster of smaller frames on the other.
For guidance on choosing between a gallery wall and a single statement piece, the gallery wall vs. single piece comparison from Agostudio breaks down the decision clearly by room type and wall size.
Spacing: tight clusters vs. loose arrangements
Frame spacing determines whether a gallery wall reads as intentional or accidental.
| Spacing style | Gap between frames | Best for |
|---|---|---|
| Tight cluster | 2–4 inches | Cohesive, modern, or minimal displays |
| Loose arrangement | 6–10 inches | Eclectic, layered, or large wall displays |
Measure edge to edge, not center to center. Consistent edge-to-edge spacing creates a visual rhythm that reads as deliberate. Inconsistent spacing is the most common reason gallery walls look chaotic.
- Lay all frames on the floor and photograph the arrangement before moving to the wall.
- Place the anchor piece first at eye level or slightly off-center.
- Build outward, alternating frame sizes and orientations for variety.
- Maintain consistent spacing (2–4 inches for tight, 6–10 inches for loose).
- Mix frame finishes (black, natural wood, gold) but keep one element consistent, such as mat color or frame width.
Pro Tip: Vary frame sizes but keep the mat color consistent across all frames. This creates a unified look even when the artwork styles differ significantly.
For larger rooms, the Agostudio guide on gallery wall layout for large spaces covers how to scale groupings without losing cohesion.
What are the best hanging techniques for safety and stability?
Hanging art correctly is as much about safety as it is about aesthetics. A frame that falls damages the art, the wall, and potentially the furniture below it.
Measuring for precise nail placement
Measure the distance from the hanging hardware (wire or hook) to the top of the frame. Subtract that number from your target height (the 57–60 inch center point). The result is where your nail goes. This calculation eliminates guesswork and prevents the common mistake of hanging art 2–3 inches too high.
Hardware for heavy pieces
For art over 10 pounds, a standard drywall nail will fail over time. Use wall anchors rated for the weight, or locate a wall stud and screw directly into it. Studs are typically spaced 16 inches apart in American residential construction. A stud finder costs under $20 and removes all guesswork.
- Use a laser level or a long carpenter’s level to keep frames straight.
- Apply painter’s tape to the wall to mark nail positions before hammering.
- For two-point hanging (two hooks on one frame), measure the distance between the hooks precisely before marking the wall.
- Use picture-hanging strips for lightweight frames on rental walls to avoid damage.
- Lean art pieces 24 inches wide or larger against a wall or on a mantle for a casual, renter-friendly alternative to hanging.
Pro Tip: For two-point hanging systems, cut a strip of painter’s tape the exact width between the two hooks. Mark both hook positions on the tape, then transfer the tape to the wall at the correct height. This gives you perfectly spaced nail marks in one step.
Safety and preservation go together. Keep art away from direct sunlight to prevent fading. In humid rooms like kitchens and bathrooms, choose prints with UV-protective glass or acrylic glazing.
What I’ve learned from breaking the rules (and when to follow them)
The 57–60 inch rule is correct for most rooms. But “most rooms” is not all rooms. I have been in homes with 10-foot ceilings where art hung at the standard height looked like it was crouching near the floor. In those spaces, raising the center point to 62–65 inches felt right. The rule exists to serve the room, not the other way around.
The advice I give most often is this: use templates before you commit. Tape craft paper cutouts to the wall, step back from the doorway, and look at the arrangement from the angle you will actually see it from when you walk into the room. That sightline matters more than any measurement.
Art placement is often treated as an afterthought. People buy the art first, then figure out where to put it. The better approach is to identify the wall, measure it, and then choose art sized for that specific space. Agostudio’s statement wall artwork examples show exactly how proportionate art choices transform a room before a single nail goes in.
Trust the guidelines as a starting point, then adjust for your ceiling height, your furniture, and your eye. The goal is a room that feels right to you, not one that passes a ruler test.
— DAVID
Art that deserves the right wall
Proper placement only works when the art itself is worth displaying. Agostudio curates original prints from real artists, each selected to evoke warmth and connection rather than fill space. Every piece is chosen because it resonates, not because it fits a trend.

Browse the full art prints collection to find pieces sized for your specific walls, from intimate single prints to large-format statement works. If you want ongoing variety, the Artist Print Club delivers curated selections that rotate with the seasons. Each print arrives ready to place using the techniques covered here.
Key takeaways
Effective wall art placement combines the 57–60 inch eye-level standard with proportional scale, consistent spacing, and the right hardware to create rooms that feel intentional and complete.
| Point | Details |
|---|---|
| Center at eye level | Hang art so its center sits 57–60 inches from the floor for ideal viewing. |
| Match art to furniture width | Choose art that spans 2/3 to 3/4 the width of the furniture below it. |
| Keep the furniture gap | Leave 6–12 inches between the furniture top and the art’s bottom edge. |
| Use hardware for heavy pieces | Art over 10 pounds needs wall anchors or stud mounting, not drywall nails. |
| Plan gallery walls on the floor | Lay out frames before hanging to avoid damage and perfect the arrangement. |
FAQ
What is the standard height for hanging wall art?
The center of a piece of wall art should sit 57–60 inches from the floor. This matches average adult eye level and is the standard used by professional galleries and museums.
How much space should be between art and a sofa?
Leave 6–12 inches between the top of the sofa and the bottom edge of the artwork. This gap creates a visual connection without making the art look detached from the furniture.
What size art should I choose for above a sofa?
Art should span approximately 2/3 to 3/4 the width of the sofa below it. For a 72-inch sofa, that means art roughly 48–54 inches wide, either as a single piece or a grouped arrangement.
How do I hang heavy art safely?
For pieces over 10 pounds, use wall anchors rated for the weight or screw directly into a wall stud. Standard drywall nails are not rated for heavy frames and will fail over time.
Can I hang art without putting holes in the wall?
Yes. Lean large pieces (24 inches wide or larger) against a wall or on a mantle for a flexible, damage-free display. Picture-hanging strips also work well for lightweight frames on rental walls.